This is how your individual showroom is created.
A showroom is the home of every virtual vehicle, so we put a lot of effort into creating a showroom that will fit any brand and design - and there are no limits. From futuristic to classic or industrial ... or maybe even on the moon? Everything is possible. Built according to real units of measurement, virtual worlds can thus be created. To dive and discover. Even when lighting a showroom, there are endless possibilities. A sea of LED lights or physically correct sunlight breaking through the glass facade is just the beginning.
MODELING BUILDING PART I
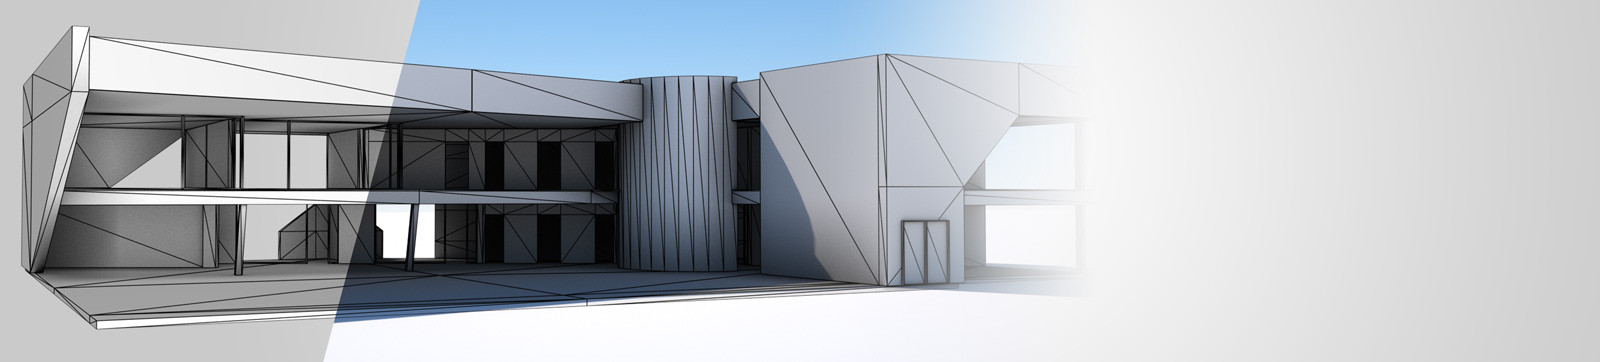
In the beginning, like a real building, the foundation is set first. This can help real floor plans or construction plans. In this step, later factors are considered, for example, how many vehicles are displayed or how the lighting conditions should be.
MODELING BUILDING PART II
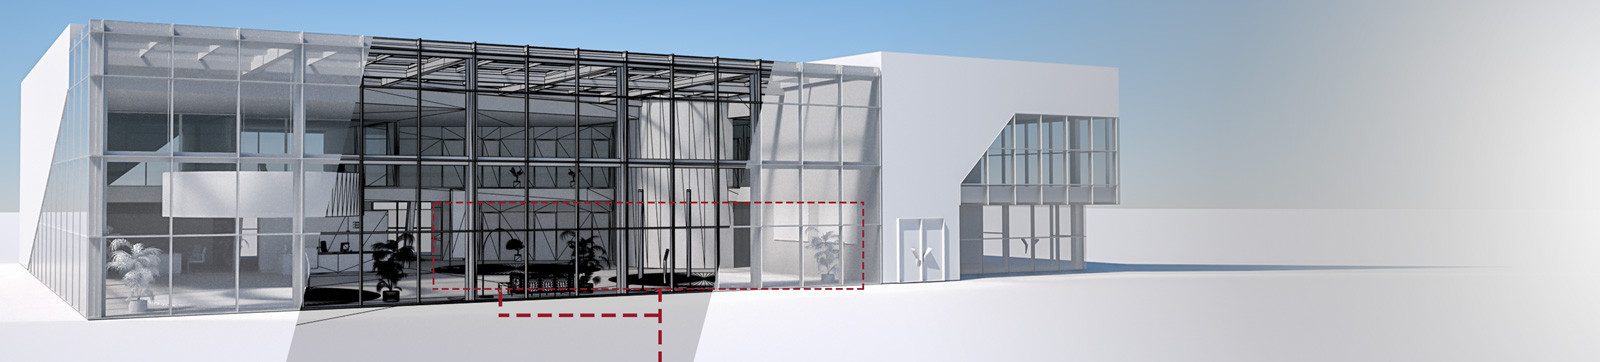
In the second step, details such as doors, railings, windows etc. are added to the "shell". Subsequently, the interior fittings such as counters, banners and decoration are integrated. When modeling, there are no limits - everything imaginable can be created based on real or fictional models.
STAINING THE PARTS AND EXPOSURE
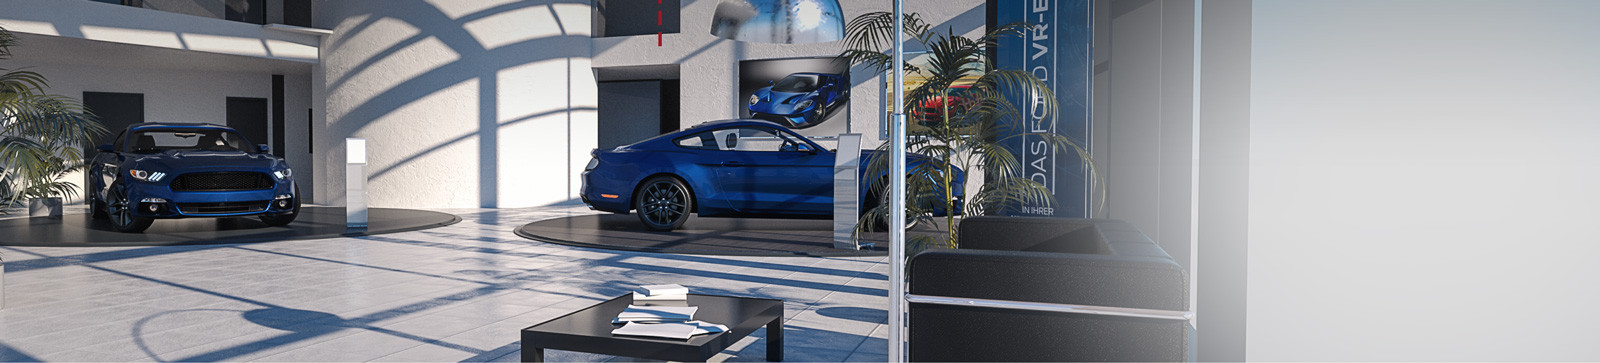
Once the interior is set, the whole can now be given the final look. Black or white tiles? Chrome or stainless steel? The so-called "shading" breathes life into a 3D model with textures and colors.
This is how your individual VR vehicle is made.
Modeling a vehicle is considered one of the most difficult tasks in the field of 3D modeling because it combines organic and technical shapes - from simple geometric shapes to smooth curves. Accordingly, a high degree of precision and time is necessary. As a reference, one usually uses cracked drawings and high-resolution photos to capture every detail, because already slightly offset beads and edges can falsify the illusion of a real vehicle.
MODELING THE VEHICLE PART I
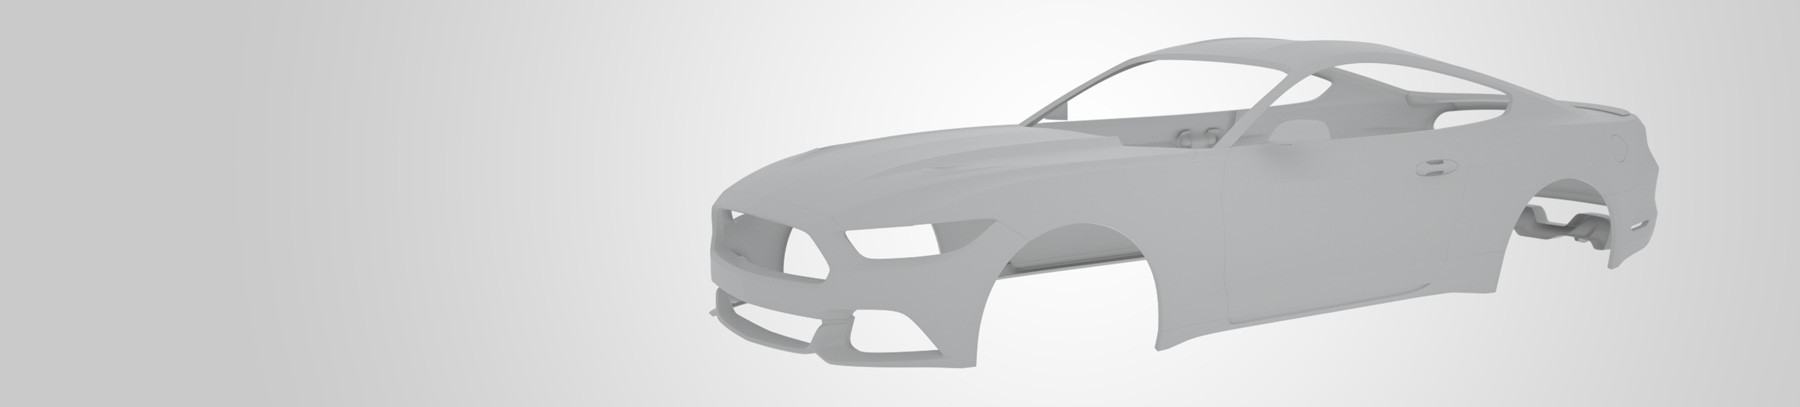
With the help of crack drawings of all 4 axes (front, back, left, right) the exterior of a vehicle is modeled and determines the shape. From a simple rectangle, the chassis is shaped according to real units of measure.
MODELING THE VEHICLE PART II
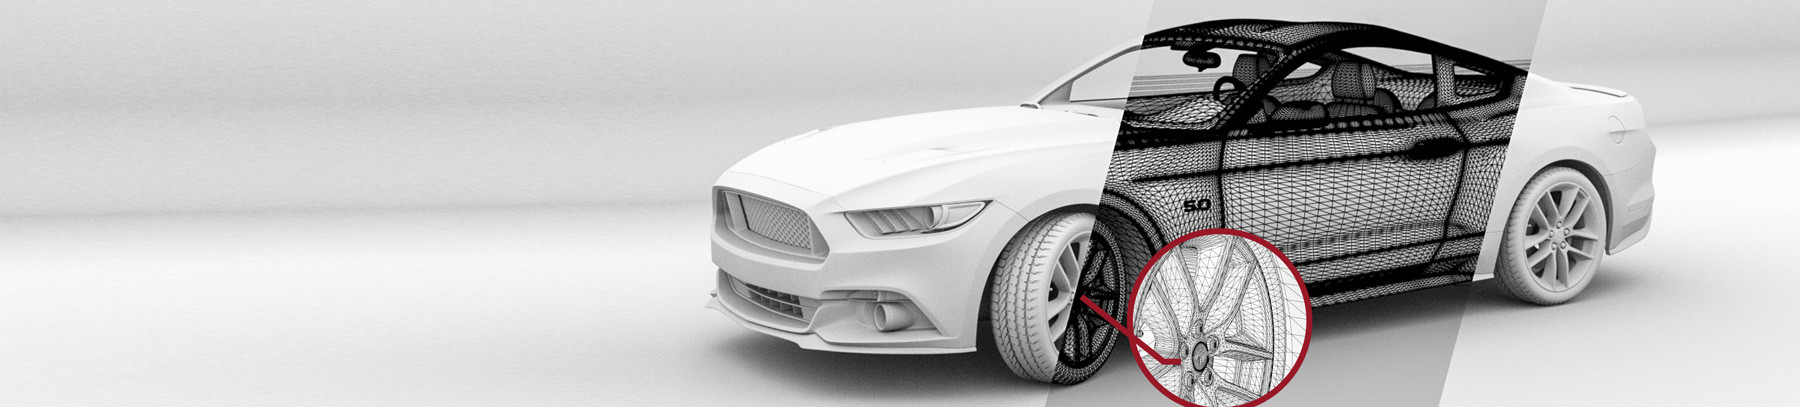
Once the chassis is completed, the rest can be made and assembled, just like a real car. Plastic covers and headlights are modeled and, depending on the area of use, even a highly detailed interior is possible, so that the car is in no way inferior to its real counterpart.
STAINING THE PARTS AND EXPOSURE

Finally, the vehicle is painted and determined in detail with the help of references. Attention is paid to details such as, for example, how dull or glossy the plastic is or how much metallic particles are visible in the paint. The right lighting of the scene highlights the individual shape of each car.